How to Add Tracking Number in WooCommerce
When you’re processing orders on your WooCommerce store, one of the things you want to do is add a tracking number, so your customers are notified that their orders have been shipped and they can also track it for themselves.
Unfortunately, WooCommerce does not offer these features by default, but there are many plugins available that can add them for you. In this tutorial, we will not only reveal our favorite plugin for doing this but also show you how to get it all set up and working.
Contents
Step 1: Install Advanced Shipment Tracking Plugin
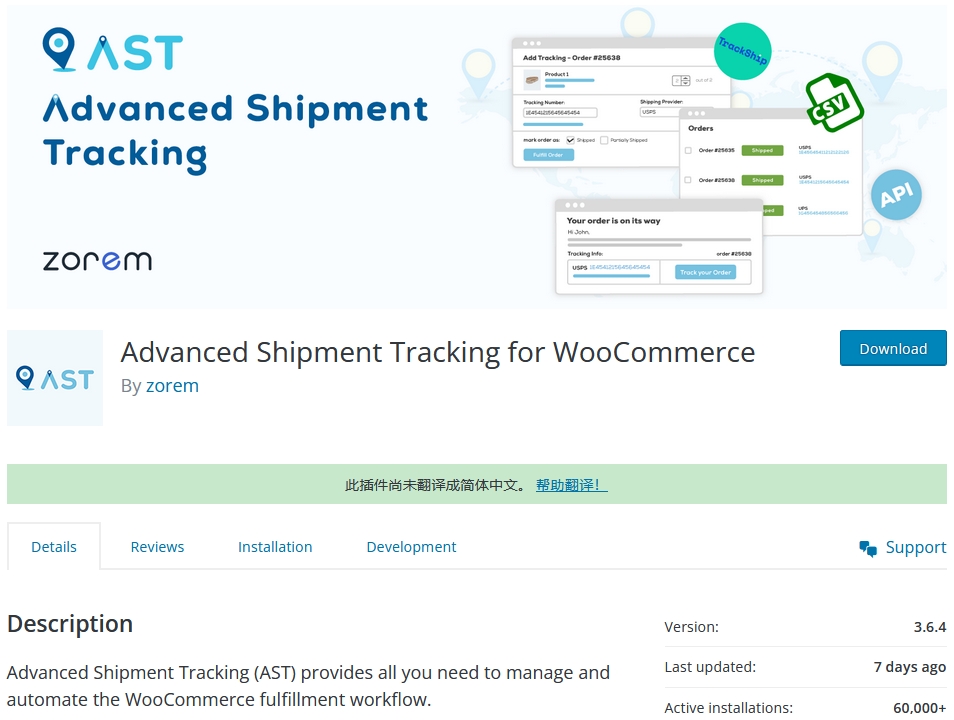
The first step is to install the Advanced Shipment Tracking for WooCommerce plugin.
This plugin is absolutely free to use, however, you must have WooCommerce installed before installing and activating it.
Step 2: Select Shipping Carriers
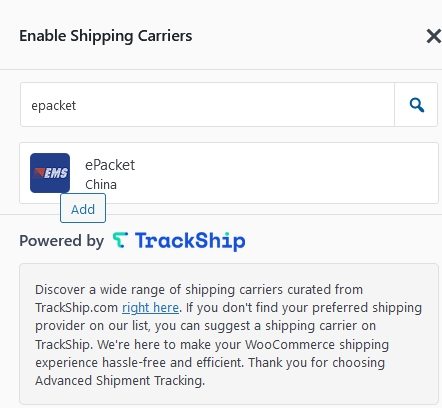
After you’ve installed and activated the plugin, navigate to WooCommerce → Shipment Tracking → Shipping Providers → Browse Providers.
This should present a list of shipping carriers that the plugin supports, if the list doesn’t appear, then click the gear icon in the top right-hand corner and click the Sync Provider List option. This should add all the options to list and there should be over 250 options.

If your Shipping Provider doesn’t appear in the list, you can add a custom one by navigating to the Custom Provider tab and click the Add Custom Provider button.
Step 3: Add Tracking Numbers to Orders
Once the plugin has been configured, you can then add tracking information to your orders.
To manually do this, you need to go into your order (by clicking on the order number in the order overview menu) and you will see a Shipment Tracking box appear in the top right corner of the screen.
Clicking the Add Tracking Info button will open up the following box:
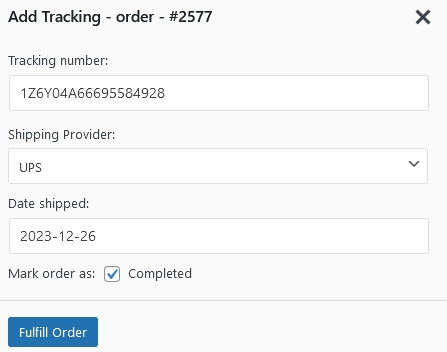
If you have the Mark as Completed box checked, it will automatically update the order status in your dashboard and send an email to the customer letting them know that their order has been shipped and what their tracking number is.
Add Tracking via CSV
If you are dealing with a large number of orders, you may receive your tracking information via a CSV file and rather than adding the tracking information to each individual order, you can upload a CSV file and it will update it for you.
To do this, navigate to WooCommerce → Shipment Tracking → CSV Import and you will see the following options:
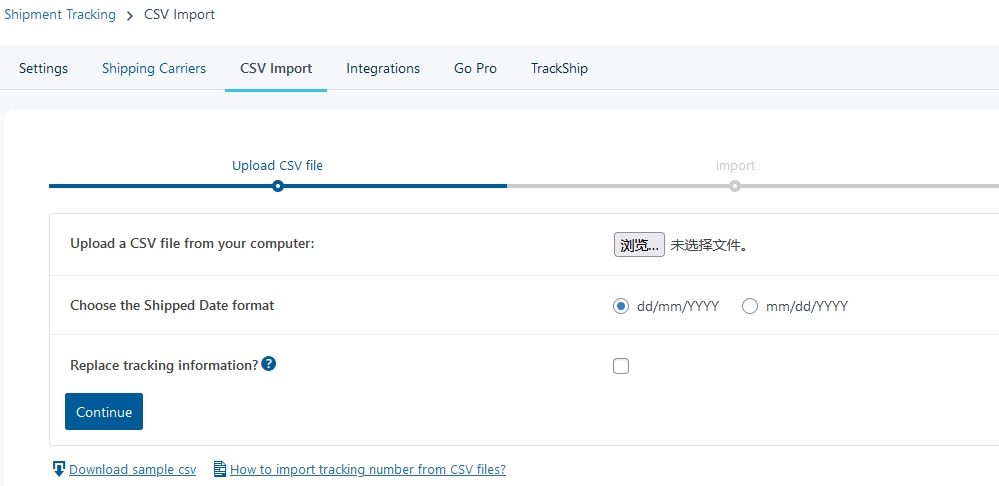
To import the CSV file, click on the Choose File button and select the file from your device, select the date options and where you want to replace to existing tracking information (if this is not checked, then it will add the new tracking information alongside the existing information).
Clicking continue, will upload the file and bulk update your orders.
Conclusion
The Advanced Tracking plugin makes is very quick to set up and makes it nice and easy to add a tracking number to your customer orders, which can make a big improvement to your order management process in WooCommerce.


